


If you are using the official us visa appointment booking india website (usvisascheduling.com), encountering error banners, blank screens, or locked fee receipts is a widespread challenge. Since the U.S. Mission in India migrated from its legacy CGI Federal portal to Microsoft Power Pages, applicants across New Delhi, Mumbai, Chennai, Hyderabad, and Kolkata routinely run into tech glitches. These range from Cloudflare IP blocks to locked dependent profiles. Understanding how to bypass these portal errors can save you weeks of frustration and keep your visa application on track.
Whether you are applying for a B1/B2 tourist visa, an F-1 student visa, or an H-1B work visa, this guide breaks down the core causes of these glitches and provides step-by-step, community-verified workarounds to resolve them.
Technical Overview & 2026 Fee Structure
The appointment portal operates on Microsoft Power Pages and Dynamics 365, protected by Cloudflare Web Application Firewall (WAF) to prevent automated bot activity and DDoS attacks. While designed to handle heavy traffic, this setup often mistakes normal human behavior—like clicking through calendar months or refreshing a page—for bot activity.
Before troubleshooting portal errors, ensure you are tracking the correct Machine Readable Visa (MRV) fee amounts. MRV fees are non-refundable and strictly tied to your account session once claimed:
- $185 USD: Visitor and Business visas (B1/B2), Student visas (F-1/M-1), and Exchange Visitor visas (J-1).
- $205 USD: Petition-based employment visas (H-1B, H-4, L-1, L-2, O, P, Q, R).
Accepted payment channels inside India include Indian Credit/Debit cards, UPI (VPA), Bank Electronic Funds Transfer (NEFT/RTGS), and over-the-counter cash payments at designated Axis Bank and Citi branches. If you need a complete overview of the baseline scheduling process, refer to our comprehensive guide on how to book a US visa appointment in India.
Top Glitches on the US Visa Appointment Booking India Website & How to Fix Them
1. “Sorry, you have been blocked” (Cloudflare WAF Error)
Symptom: Instead of loading the login dashboard, the browser presents a plain white screen with text stating: “Sorry, you have been blocked. You are unable to access usvisascheduling.com”.
Root Cause: Cloudflare’s security system has flagged your IP address. This is typically triggered by browsing through a corporate VPN, using auto-refresh or slot-checker browser extensions, or clicking through pages too fast.
Step-by-Step Fix:
- Disconnect VPNs: Turn off all active VPN connections, company proxies, or custom DNS-over-HTTPS configurations.
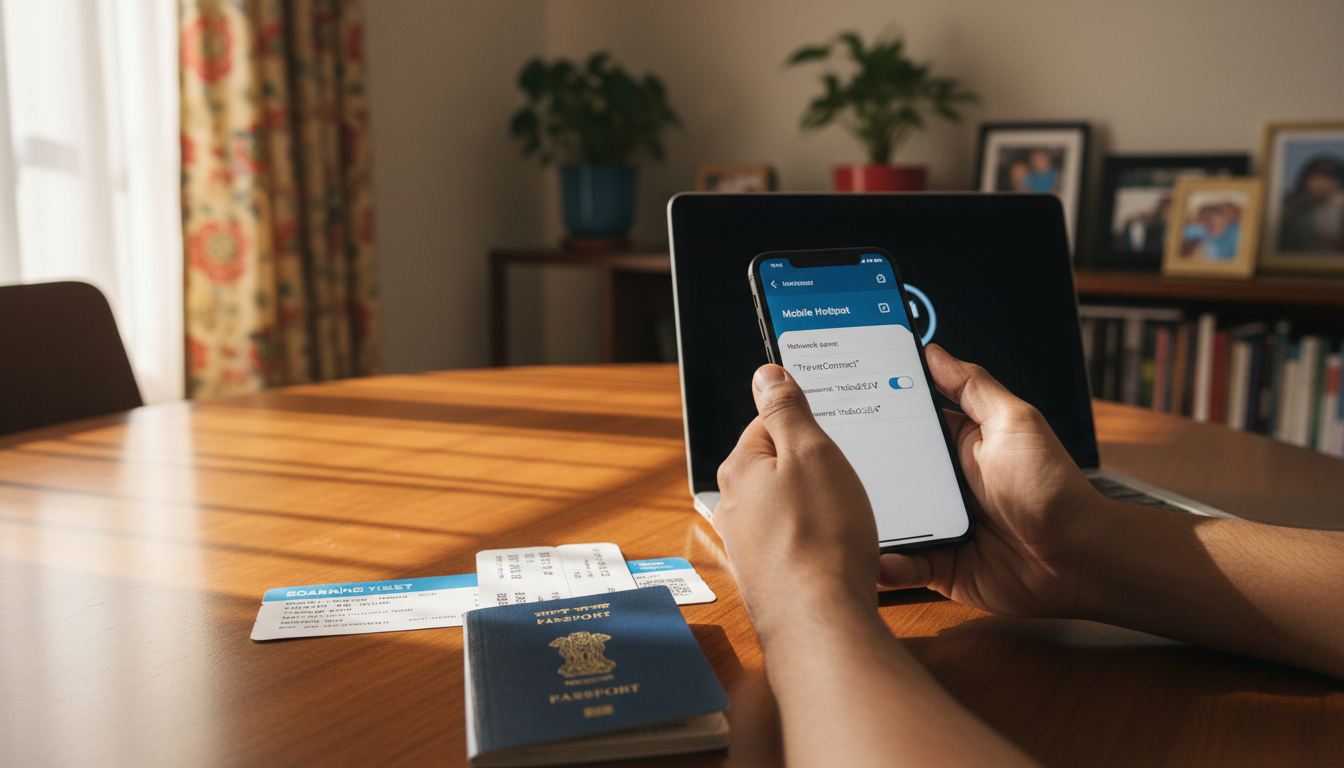
- Switch Network: Disconnect from your home or office Wi-Fi and connect your computer to your mobile phone’s personal hotspot. Cellular networks dynamically assign fresh IP addresses, which bypasses the blocked IP.
- Disable Extensions: Open your browser settings (e.g.,
chrome://extensions/) and toggle off every active extension, especially ad-blockers, script managers, or slot tracking extensions. - Use Incognito Mode: Open a completely fresh Incognito or Private Browsing window.
- Observe a 24-Hour Cool-Down: If the block remains on your mobile network, close all portal tabs and do not attempt to visit the site for 24 hours. Accessing the URL before the timer expires will reset Cloudflare’s rate limit block.
2. “Applicant biodata is locked currently”
Symptom: Clicking “Continue Application” or attempting to edit personal information causes a red banner error to appear: “Applicant’s biodata is currently locked”.
Root Cause: This error usually occurs when you attempt to edit details while an active draft session is running in the background, or when a dependent profile has been unlinked or deleted from a primary applicant’s group profile without proper session termination.
Step-by-Step Fix:
- Initiate a 72-Hour System Freeze: Do not log in, hit refresh, or attempt to edit any part of your profile for 72 continuous hours. The backend session locks operate on a 72-hour automated purge cycle.
- Bypass via Home Dashboard: After 72 hours, log back in. Do not click “Start/Edit Application.” Instead, navigate directly to your main dashboard screen and click “Continue Application”.
- Direct URL Navigation: If the button remains disabled, paste the direct URL for applicant details straight into your address bar while logged in (see the direct links section below).
- Backend Email Disassociation: If the record remains locked after 72 hours, call customer service (+91 20 69020000). Ask the representative to clear the orphaned backend draft or disassociate the email address linked to the passport number.
3. Payment Receipt Errors (RCE07 / REC07 & Missing Dropdowns)
Symptom: After making a successful payment via UPI or NEFT, the portal displays error code REC07 or RCE07 (“Could not find a Receipt with given Receipt Number and Payment Date”). Alternatively, the “Payment Type” dropdown on the payment page appears completely blank or shows a fee of $0.
Root Cause: This happens when banking servers have not finalized payment reconciliation with the portal, or when your payment receipt has attached itself to a deleted application draft in the database.
Step-by-Step Fix:
- Never Pay Twice: Do not make a second payment. MRV fee payments are non-refundable, and duplicate payments will not speed up the resolution process.
- Use the Auto-Detection Method: On the payment options page, do not click “Claim Receipt.” Simply select the exact payment option you used originally (e.g., UPI or EFT) from the dropdown and click Submit. In most cases, the portal will search your profile history, auto-detect the existing unlinked receipt, update the balance due to $0, and display a “Confirm Receipt” prompt.
- Format EFT/NEFT Receipts Correctly: If you paid via NEFT/RTGS and must manually enter details, use the last 12 digits of the Unique Beneficiary Account Number generated on your original payment slip as your receipt number.
- Submit a Receipt Unlock Ticket: If the auto-detection step fails after 24 hours, log in, navigate to “Requests/Feedbacks,” and log a ticket. Attach your bank payment proof, UPI reference ID, and passport copy. State clearly: “Payment completed but receipt locked under RCE07. Please release MRV receipt to active session.”
4. “Liquid Error” & Blank White Pages
Symptom: The browser loads a blank white page or displays backend coding text: Liquid error: Exception has been thrown by the target of an invocation.
Root Cause: This failure occurs within Microsoft Power Pages when session security tokens expire, or when essential data fields (such as your visa class, priority status, or interview location) are corrupted within your active browser cache.
Step-by-Step Fix:
- Clear Site Cookies: Clear browser cookies specifically for
usvisascheduling.com. - Force Base Endpoint: Manually clear your browser’s address bar and navigate straight to the root login URL:
https://www.usvisascheduling.com/en-US/ - Reset Draft Application: If the Liquid Error repeatedly surfaces at the “Additional Options” step, go to your Application Home screen, click “Close and Start New Application”, and re-enter your details carefully from the beginning.
5. Rate Limiting Errors (PSE0501, SGA18, & 1015 Rate Limit)
Symptom: Yellow or red warning banners appear displaying error PSE0501 (“You are approaching the maximum number of times you may view this page”), error SGA18, or 1015: You are being rate limited.
Root Cause: Changing city selection dropdowns too quickly, rapidly toggling between dates, or refreshing the calendar page repeatedly within a short window.
Step-by-Step Fix:
- Apply the 60-Second Rule: Wait 60 to 90 seconds between changing consular location dropdowns (e.g., switching from Mumbai to New Delhi) when checking calendar availability.
- Do Not Refresh the Scheduling Screen: If `PSE0501` appears, refreshing the tab will burn through your remaining allowed views. Keep the schedule tab open, open a new browser tab, go to
https://www.usvisascheduling.com/en-US/to clear any security checkpoints, and then return to your original tab. - Follow the Sequential Booking Rule: The portal requires you to select an OFC (VAC) biometrics slot first, and then immediately pick a Consular Interview slot on the page that follows. Choosing an OFC slot locks it temporarily for roughly 60 minutes. If you hit your browser’s back button without selecting a Consular slot, the system triggers error `SGA18` and drops the held slot.
Direct Navigation URLs for the US Visa Portal
When interface buttons fail to respond, turn grey, or loop endlessly, direct URL entry can help bypass broken menu items. Note: You must already be logged into your active account session in the same browser window for these direct links to work.
| Screen / Function Goal | Direct Navigation URL |
|---|---|
| Appointment Confirmation (Printable) | https://www.usvisascheduling.com/en-US/appointment-confirmation/ |
| Appointment Manager (View Status) | https://www.usvisascheduling.com/en-US/AppointmentManager/ |
| OFC (Biometrics) Scheduling Page | https://www.usvisascheduling.com/en-US/ofc-schedule/?reschedule=true |
| Consular Interview Scheduling Page | https://www.usvisascheduling.com/en-US/schedule/?reschedule=true |
| Step 1: Applicant Personal Details | https://www.usvisascheduling.com/en-US/applicant_details/ |
| Step 2: Application Details | https://www.usvisascheduling.com/en-US/applicant_details/application_details/ |
| Step 3: Visa Class & Options | https://www.usvisascheduling.com/en-US/applicant_details/application_details/additional_visa_options/ |
| Document Delivery Setup | https://www.usvisascheduling.com/en-US/applicant_details/application_details/additional_visa_options/drop-box-confirmation/manage_dependents/document_delivery |
Managing Dependent Profiles & Dropbox Complications
A high percentage of technical errors on the us visa appointment booking india website occur when linking family members as dependents on a primary profile.
1. “Profile Already Exists in Database”
This error occurs when a dependent’s passport details were previously entered into the portal under a separate profile, an older CGI Federal profile, or a past application. To resolve this, do not attempt to force-add them to your primary group. Instead, log into or create an individual account for the dependent using their personal email address. If the passport number remains blocked, contact support to clear the older orphaned account.
2. Dependent Dropbox (Interview Waiver) Mismatches
If the primary applicant is eligible for an interview waiver (Dropbox) but the dependent is required to appear in person, group booking often breaks down. The system may fail to display the Dropbox questionnaires properly, resulting in errors at the payment step. Check our updated US visa dropbox checklist and eligibility guide to verify if every family member independently qualifies. If their eligibility statuses differ, split the profiles and book them separately.
3. Splitting Group Bookings to Resolve Slot Errors
If your group application repeatedly returns an “An error has occurred” message during slot selection, the scheduling calendar may lack sufficient consecutive slots for your group size. Remove the dependents from your primary profile, process their payments individually, and schedule their appointments separately. While this may result in different appointment times, family members can usually request entry together at the VAC center if their appointments fall on the same date.

Navigating Support Escalations on the US Visa Appointment Booking India Website
When automated steps and direct URLs fail to resolve a technical error, you must request manual database intervention through official U.S. Mission India support channels. For an in-depth breakdown of contacts and consulate-specific operations, view our US visa customer care India directory.
Official Call Center Contacts
- Calling from India:
+91 20 69020000or+91 22 62011000 - Calling from the United States:
+1 332 220 1866or+1 703 520 2239 - Support Email Address:
support-india@usvisascheduling.com - Hours of Operation: Monday to Friday, 8:00 AM – 8:00 PM IST; Sunday, 9:00 AM – 6:00 PM IST (Closed Saturdays and public holidays).
Call Timing Tip: To avoid waiting on hold for 45 minutes or more, place your call right at **8:00 AM IST sharp** when lines open.
Template for Technical Support Tickets
When sending an email or creating a “Request/Feedback” ticket directly inside the portal, structure your communication clearly so support agents can process it quickly:
Subject: TECHNICAL ERROR – [Your Passport Number] – [Error Name/Code]
Primary Applicant Name: [As spelled on Passport]
Registered Email Address: [Your Login Email]
Passport Number: [Your Passport Number]
DS-160 Confirmation Number: [AA00…]
Payment Details: [UPI Transaction ID / NEFT Beneficiary Number / Fee Amount]Issue Summary: [Clear description, e.g., “Payment completed on August 15, but system displays RCE07 error when attempting to book slots.”]
Attach: PDF copy of your bank payment confirmation receipt, passport bio page, and an uncropped screenshot showing the full browser window with the error message and URL bar.
Golden Rules to Prevent Account Lockouts
To keep your account active and prevent your visa fee validity from locking up, follow these rules when using the portal:
- Do Not Refresh During Page Loads: Avoid hitting
F5or clicking the refresh button while a page is loading or when calendar slots look empty. Rate limits trigger quickly. - Limit Daily Logins: Avoid logging into your account more than 3 to 4 times within a 24-hour window. Repeated logins flag your profile for security reviews.
- Never Use Third-Party Slot Bots: Avoid auto-booking extensions or browser scripts. Cloudflare flags DOM-manipulation attempts, which can lead to permanent account IP blocks.
- Verify Profile Fields Early: Cross-check your DS-160 confirmation number, passport details, and petition numbers before saving your profile. Changing core details after initial submission can lock your biodata. If you are preparing for your interview, review our guide on the US B1/B2 visa interview documents checklist to ensure your paperwork matches your portal entries.
- Save Payment Records Immediately: Download and archive your payment receipts, Axis Bank pay-in slips, or UPI transaction details before moving on to the appointment selection tab.
Frequently Asked Questions
Will my MRV visa fee expire if I get stuck in a portal loop?
MRV fee receipts remain valid for 365 days from the date of payment. Technical bugs, site downtime, or profile locks do not cancel your payment. As long as you keep your proof of payment and escalate open issues to support-india@usvisascheduling.com, your payment remains tied to your record.
What should I do if my payment was deducted via UPI, but the portal still asks for payment?
Allow 24 hours for bank servers to complete reconciliation. Do not make a second payment. Return to the payment options screen, select “UPI” as your payment method again, and click submit. The portal will initiate an automated reconciliation check and link your existing payment receipt.
Can I update my DS-160 number on usvisascheduling.com after booking an appointment?
You can adjust your DS-160 confirmation number within the portal settings before securing an appointment date. If your appointment is already confirmed, current policy allows you to bring both your original and updated DS-160 confirmation pages to your OFC (VAC) appointment. Technicians there can update the barcode number manually in the system.
Why does the calendar show “No Slots Available” across all Indian cities?
Appointment slots are released in dynamic batches by the U.S. Embassy and regional consulates. Seeing “No Slots Available” across New Delhi, Mumbai, Chennai, Hyderabad, and Kolkata usually means the current slot batch has been filled. It indicates high demand rather than a technical system error.